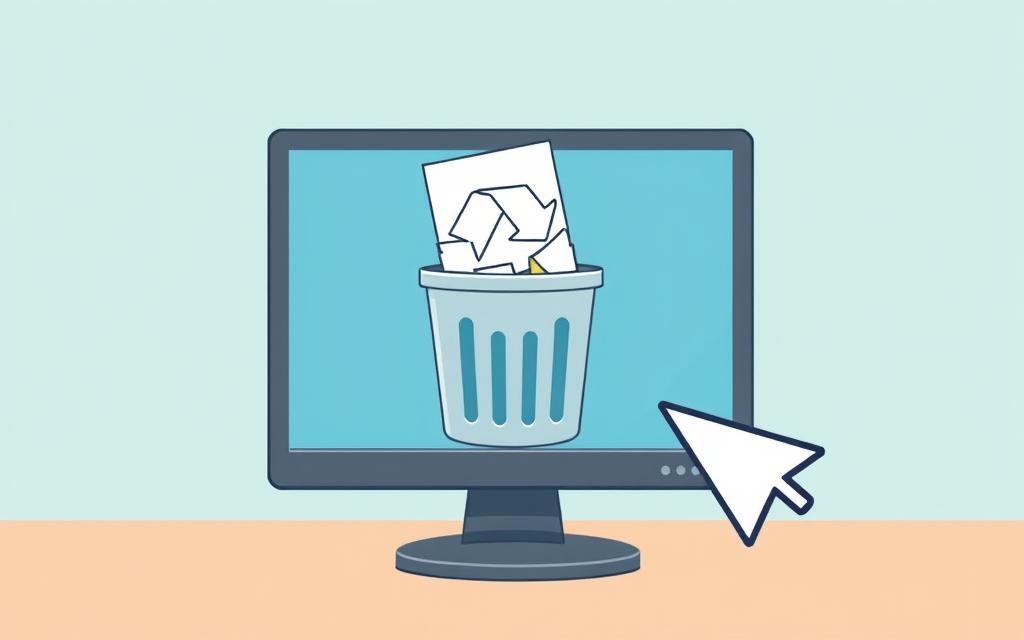
Many Windows users know the Recycle Bin well. It’s where deleted files go temporarily. Some desire a minimalist layout or aim to enhance their security and privacy by removing it. If you’re curious on how to remove the Recycle Bin, you’re in the right spot.
Our article provides a detailed guide for Windows 10 and Windows 11 users. It shows how to remove the Recycle Bin from the desktop easily. We cover using the Settings app to Registry edits. This guide is for reclaiming desktop space or understanding windows Recycle Bin settings. Let’s get started!
The Recycle Bin is a key part of Windows. It holds deleted files temporarily. Knowing how it works improves how we manage files and enhances how we use our computers.
What is the Recycle Bin?
The Recycle Bin is where files and folders go when you delete them. They aren’t gone right away. You can get them back if needed. This recycle bin functionality helps prevent mistakes by not deleting files for good straight away.
Importance of the Recycle Bin in Windows
The Recycle Bin is vital for keeping data safe. Items can be restored for 14 days after deletion. It’s like a safety net for your files, giving you time to think before anything is lost forever.
Prevents permanent loss of files due to accidental deletion
Allows users to recover files easily without complex procedures
Acts as a buffer zone for important data management
Reasons for Removing the Recycle Bin
Many people think about reasons to remove recycle bin to tidy their workspace or boost security. A clean desktop helps with focus and productivity. It lets users create a desktop customisation that suits their taste and needs.
Customising Your Desktop Layout
Wanting a simpler desktop layout is a key reason to get rid of the Recycle Bin. A minimalistic space without too many icons reduces clutter. For example, imagine 6,864 items piling up in the Recycle Bin, spoiling the look.
Dealing with this mess can make users rethink the icons they really need.
Increasing Security and Privacy
Privacy worries make many, especially on shared computers, consider removing the Recycle Bin. It stops others from accessing sensitive files. When devices are used by multiple people, it’s easy for data to be seen by mistake.
Deleting the Recycle Bin is a good move to prevent unwanted file recovery. This boosts your system’s security.
Those unsure about the Recycle Bin’s risks can look at this detailed guide. It explains how to remove it and what to consider about file recovery.
How to Remove the Recycle Bin from Windows 10
Want to customise your Windows 10 desktop? Removing the Recycle Bin isn’t hard. Just follow these steps using either the Settings app or Registry Editor, depending on how you like to tweak your system settings.
Using the Settings App
Start with the easy method by opening the settings app’s recycle bin. Do this through Personalisation options. Here are the steps:
Right-click on the desktop and select Personalise.
Go to Themes.
Hit Desktop icon settings.
Untick Recycle Bin and hit OK.
This way is quick if you like simple steps. It lets you remove the Recycle Bin from Windows 10 easily.
Removing Through the Registry Editor
If you’re okay with more techy stuff, try the registry editor. Make sure to back up the registry first. Here’s what to do:
Press Windows + R, type in regedit, and press Enter.
Right-click in the right area, choose New > DWORD (32-bit) Value, and name it {645FF040-5081-101B-9F08-00AA002F954E}.
Change its value to 1 to hide the Recycle Bin.
This method gives you more control over your desktop. Just be careful with the registry editor to avoid mistakes.
Method
Ease of Use
Risk Level
Settings App
Easy – User-friendly
Low – Quite safe
Registry Editor
Advanced – Be careful
Higher – Might risk your system
You can choose how to remove the Recycle Bin from your desktop, depending on how comfortable you are with changing system settings.
How to Remove the Recycle Bin from Windows 11
Users wanting to refresh their desktop can consider removing the Recycle Bin. Follow these steps to customise desktop icons in Windows 11. This helps keep your space tidy.
Steps for Customising Desktop Icons
Removing the Recycle Bin from your desktop in Windows 11 is simple. Start by going to your desktop settings. Here’s the easy way to do it:
Right-click on the desktop.
Select Personalisation from the context menu.
Go to Themes.
Scroll down and click on Desktop icon settings.
In the new window, untick Recycle Bin.
Click OK to save your changes.
For faster access, you can use the Run command. Just type desk.cpl,,5. This takes you straight to Desktop Icon Settings, skipping several steps.
Even after removing the Recycle Bin icon, it’s still accessible via File Explorer. So, there’s no loss of function. To quickly hide all desktop icons, right-click the desktop, choose View, then Show Desktop Icons. Your desktop will look clean but nothing is permanently gone.
Method
Description
Using Personalisation
Access desktop settings directly and uncheck the Recycle Bin option.
Run Command
Type desk.cpl,,5 for quick access to Desktop Icon Settings.
Hiding All Icons
Right-click on desktop, select View, and choose Show Desktop Icons.
This guide shows how to manage desktop icons in Windows 11. It offers a way to enhance both the look and function of your desktop.
Alternative Methods to Hide the Recycle Bin
If you want to make your Windows look different, there are a few ways to hide the Recycle Bin. These methods are easy for anyone, no matter their tech skill. For those using Pro versions of Windows, the Local Group Policy Editor is a standout choice.
Using Local Group Policy Editor
The Local Group Policy Editor is great for removing the Recycle Bin icon from view. This is achievable by finding and changing the right policy settings. This keeps your desktop looking just the way you like. It’s a solid choice for those who know their way around system settings and need a reliable way to keep the Recycle Bin out of sight.
Hiding with Desktop Icon Settings
There’s also a simpler method using desktop icon settings. It only takes a few easy steps. Just go into the desktop settings, and you’ll find an option to hide the Recycle Bin icon. This approach is perfect for quickly cleaning up your desktop space without having to mess with more advanced settings.
FAQ
How can I restore the Recycle Bin if I accidentally remove it?
If you accidentally remove the Recycle Bin from your desktop, don’t worry. Go to the “Settings” app, then “Personalisation,” and “Themes.” Next, click on “Desktop icon settings,” and tick the Recycle Bin option to get it back.
Does removing the Recycle Bin affect my ability to recover deleted files?
No. Even if you remove the Recycle Bin from your desktop, its function stays. Deleted files go to the Recycle Bin. You can reach it via File Explorer or put it back on your desktop whenever you need it.
Can I completely delete the Recycle Bin rather than just hide it?
Deleting the Recycle Bin entirely isn’t recommended. It’s a key part of managing files in Windows. If you want a neat desktop, just hide it. This way, you’ll still be able to bring back files you’ve deleted.
Are there any risks associated with hiding the Recycle Bin?
Hiding the Recycle Bin comes with little risk. However, it might be harder to get back deleted files. Make sure you know how to find it through File Explorer or another method when you need to.
Is there a way to secure my files if I hide the Recycle Bin?
Yes. If you hide the Recycle Bin, your files can still be safe. Think about using user account controls and encrypting your files. These steps add extra security for your important information.
Can I customise the Recycle Bin icon before removing it?
You sure can change the Recycle Bin icon. Just right-click it on your desktop and select “Properties.” Then, go to the “Shortcut” tab and choose a new icon. Do this before you hide or remove it.
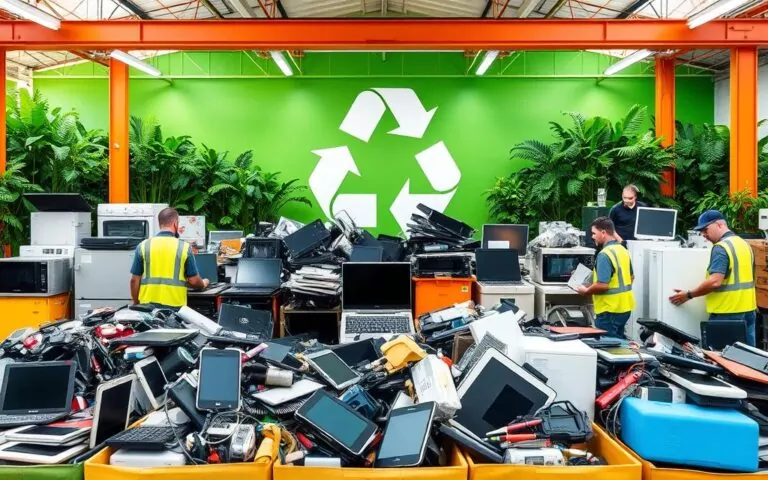
Currys, a top UK electronics store, has a great recycling programme. They take in many electrical items, from small gadgets to big household appliances. But,…
Polystyrene, often confused with Styrofoam, is a widely used plastic. Every year, 15.6 million tons are made worldwide. Yet, recycling it is tricky, as most…
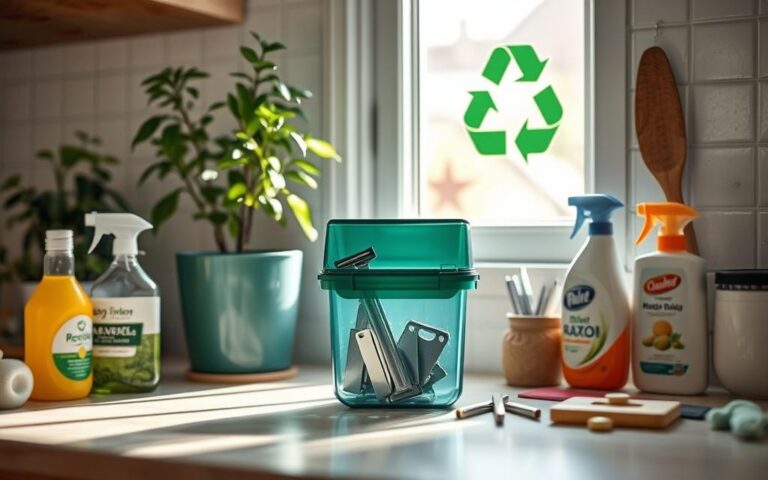
Today, recycling razor blades properly is essential. It’s crucial for our safety and the planet. The latest shaving technology has made blades sharper. This makes…
One Comment
Your perspective adds a lot to the discussion—well done!
We use cookies on our website to give you the most relevant experience by remembering your preferences and repeat visits. By clicking “Accept”, you consent to the use of ALL the cookies.
This website uses cookies to improve your experience while you navigate through the website. Out of these cookies, the cookies that are categorized as necessary are stored on your browser as they are essential for the working of basic functionalities of the website. We also use third-party cookies that help us analyze and understand how you use this website. These cookies will be stored in your browser only with your consent. You also have the option to opt-out of these cookies. But opting out of some of these cookies may have an effect on your browsing experience.
Necessary cookies are absolutely essential for the website to function properly. This category only includes cookies that ensures basic functionalities and security features of the website. These cookies do not store any personal information.
Any cookies that may not be particularly necessary for the website to function and is used specifically to collect user personal data via analytics, ads, other embedded contents are termed as non-necessary cookies. It is mandatory to procure user consent prior to running these cookies on your website.
We use cookies to ensure that we give you the best experience on our website. If you continue to use this site we will assume that you are happy with it.Ok


Your perspective adds a lot to the discussion—well done!