Ever deleted something on Facebook by mistake and wanted it back? Knowing how to get deleted posts back is key in social media. The Recycling Bin helps you manage and recover lost Facebook posts easily. In this guide, we’ll show you how to use the Recycling Bin to get your deleted content back.
The Facebook Recycling Bin is key for managing deleted posts. It acts as a safety net against accidental loss. It lets users get back their content if they act within a set time.
What is the Recycling Bin on Facebook?
This bin is where your deleted posts, photos, and videos wait for a while. Unlike traditional deletion, you can get these items back if it’s within 30 days.
How the Recycling Bin Works
Deleted content doesn’t vanish right away. It goes into the Recycling Bin first. This allows you to think twice before you make the deletion final. If you don’t recover your posts within 30 days, they’re gone for good. This shows why it’s vital to know how the bin works.
Where is the Recycling Bin on Facebook?
Finding the Recycling Bin on Facebook is easy, for both mobile and desktop users. This guide gives clear directions to locate the Recycling Bin quickly, so you can retrieve deleted items whenever you need them.
To locate the Recycling Bin in the Facebook app, just follow these steps:
Open the Facebook app on your device.
Tap the three horizontal lines at the bottom right to open the menu.
Scroll and tap Your Profile.
On your profile, tap the More option.
Choose Activity Log.
Look for Trash or Recycling Bin to see deleted items.
Accessing the Recycling Bin via Desktop
If you’re on a computer, here’s how to find the Recycling Bin:
Log in to Facebook on your web browser.
Click your profile picture at the homepage’s top right.
Select Activity Log on your profile page.
Find Trash or Recycling Bin in the menu on the left.
With these steps, finding the Recycling Bin on Facebook is simple. This applies whether you are on the app or website. Now, accessing deleted items is easy and convenient whenever you need.
How to Move Items to the Recycling Bin
Knowing how to delete Facebook posts is key for good content management. The process to move posts to the Recycling Bin is simple. Yet, it’s crucial to understand the 30-day deletion rule to avoid mistakes.
Step-by-Step Guide to Deleting Posts
To remove posts from Facebook and send them to the Recycling Bin, just follow these steps:
Open your Facebook profile and find the post you want to delete.
Click on the three dots (…) at the top right of the post.
Choose “Delete” from the dropdown menu.
You’ll see a confirmation message. Confirm to proceed with deletion.
After these steps, the post goes to the Recycling Bin. Here, you can review and maybe restore it if needed.
Caution: Understanding the 30-Day Rule
Posts stay in the Recycling Bin for 30 days. This window is for those who might rethink a deletion. Remember, if you don’t restore the posts within 30 days, they’re gone for good. Always check the contents of your Recycling Bin before the time is up to prevent losing anything you might want back.
Restoring Deleted Content from the Recycling Bin
Getting back deleted content from the Recycling Bin on Facebook is easy. It’s a way to recover posts you didn’t mean to erase. This is key for users needing their valuable content back within a certain time.
Step-by-Step Guide to Restore Posts
To get your deleted posts back, just follow these steps:
Open the Facebook app or website and go to your profile.
Hit your profile picture to see the settings menu.
Pick ‘Archive’ from the options shown.
Then, tap on ‘Trash’ or ‘Recycling Bin’.
Look through the deleted posts you can bring back.
Find the post you want back and choose ‘Restore’.
This method works the same on Android, iPhone, and computers. It makes sure you can recover your posts without trouble.
Limitations of Restoration
Restoring deleted posts is easy, but has some limits. Posts only stay in the Trash for 30 days. After that, they’re gone for good and can’t be brought back. Also, not everything deleted will be in the Recycling Bin. Some photos may disappear right away and can’t be recovered.
If you don’t ever want to lose content, think about using the archive feature. It’s a more flexible way to manage your Facebook content without losing it.
The Difference Between Archive and Recycling Bin
Knowing how the Archive and Recycling Bin work on Facebook helps in managing content. The Archive hides posts while keeping them for your eyes only. The Recycling Bin allows for temporary removal of posts, with the chance to bring them back.
When to Use Archive versus Recycling Bin
We must choose between Archive and Recycling Bin based on content handling needs. Let’s see what each does:
Use the Archive to hide posts without deleting them. Only you can see these posts.
Use the Recycling Bin for posts you might want back. They stay for 30 days before vanishing.
Moving content to the Recycling Bin lets you restore it, while you can make archived posts public again.
Visibility of Archived Content
Only you can see what’s in the Archive, keeping your public profile tidy. In comparison, Recycling Bin items are just hidden temporarily. They can be restored or will disappear after 30 days.
Feature
Archive
Recycling Bin
Visibility
Private (User only)
Temporary removal (can be restored)
Retention Period
Indefinitely
30 days before automatic deletion
Restoration
Yes, to original visibility
Yes, to original location or move to Archive
Other Content Types
Can include Stories and Messages
Only applicable for specific post types
Benefits of Knowing Where to Find the Recycling Bin
Knowing where the Recycling Bin is on Facebook has many benefits. It lets users control their posts better, making the Facebook experience much better. By learning about this feature, getting back deleted posts is easy.
Quick Recovery of Mistakenly Deleted Posts
The Recycling Bin helps you quickly get back posts you didn’t mean to delete. This means you don’t have to worry about losing important stuff for good. It’s easy to find and restore deleted items, making you feel more secure on Facebook.
Understanding Content Management on Facebook
Managing your content well is key to a tidy online look. The Recycling Bin is crucial for this, helping users watch their posts and actions. Knowing how to use the Recycling Bin means better Facebook use and keeping all valuable posts safe. This leads to better social media management.
Conclusion
The Recycling Bin on Facebook is really important for managing deleted items. If you ever delete something by accident, this feature helps you get it back in 30 days. It’s smart to learn how this tool works to keep your Facebook content in check.
Knowing how the Recycling Bin differs from archiving gives you more power over your posts. This way, you can keep your content neat and easy to find. Using these tools well means you can protect your online chats and avoid a messy digital space.
Using the Recycling Bin isn’t just about getting back what you’ve deleted. It’s also great for keeping your content organised. As social media grows, knowing how to use these tools makes your Facebook experience much better.
FAQ
What is the Recycling Bin on Facebook?
The Recycling Bin on Facebook is a place where deleted posts, photos, and videos go. It lets you get back deleted content within 30 days. Otherwise, it gets removed for good.
How does the Recycling Bin work?
Deleted items on Facebook go to the Recycling Bin, not gone forever. If you change your mind, you have 30 days to get them back.
How can I access the Recycling Bin using the Facebook app?
To find the Recycling Bin in the Facebook app, go to your profile. Then, tap the menu and select “Recycling Bin” to see or bring back deleted things.
Is it possible to access the Recycling Bin on the Facebook website?
Yes, you can find the Recycling Bin on the Facebook website. Just go to your profile, click “Settings”, and choose “Recycling Bin” to view deleted items.
How do I move items to the Recycling Bin?
Click the three dots on a post and choose “Delete”, then confirm. Your item goes to the Recycling Bin, where it stays for up to 30 days.
What is the significance of the 30-day rule?
The 30-day rule gives you a month to decide if you want to bring back deleted items. Passed that time, they’re gone for good.
Can I restore deleted content from the Recycling Bin?
Yes, to restore deleted posts, open the Recycling Bin. Then, pick the ones you want back and click “Restore”.
Are there any limitations when restoring from the Recycling Bin?
Yes, you can only restore items within 30 days of deleting them. After that, they can’t be recovered.
What is the difference between the Archive and Recycling Bin?
The Archive keeps posts hidden but accessible to you, unlike the Recycling Bin. The Recycling Bin holds deleted items for 30 days, allowing them to be brought back.
When should I use the Archive instead of the Recycling Bin?
Use Archive to hide posts without deleting them. Use the Recycling Bin for items you might want to delete now but consider restoring later.
How can knowing about the Recycling Bin improve my Facebook experience?
Knowing about the Recycling Bin means you can quickly recover posts you deleted by accident. This helps manage your content better and control your Facebook profile more effectively.
Expanded Polystyrene (EPS), also known as Styrofoam, is a light, shock-absorbing, and insulating material. It’s used a lot in packaging and building. But, many people…
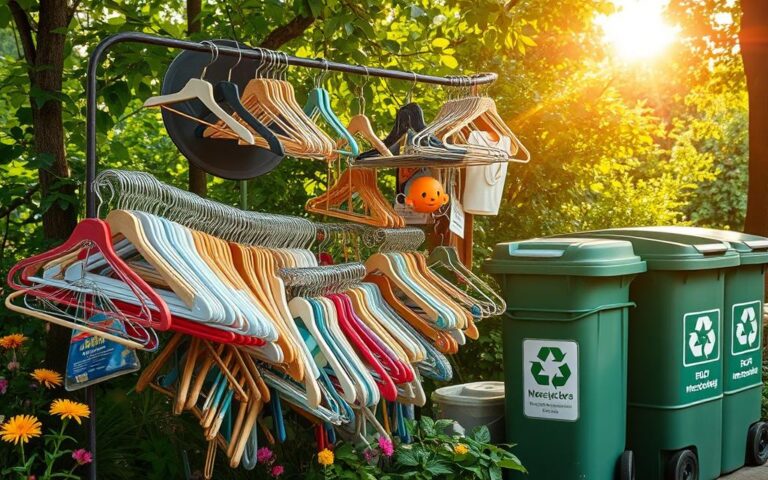
Recycling is key to a greener future. Clothing hangers, made of plastic, metal, or wood, can be recycled. The GreenDrop recycling programme is a great…
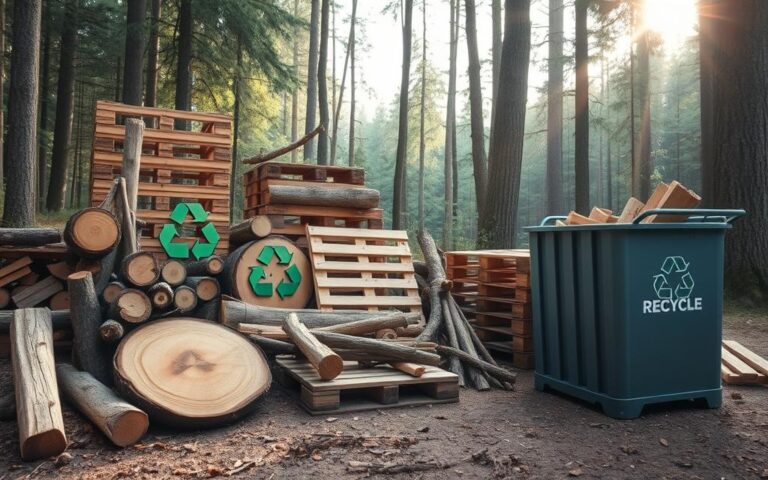
Many people wonder if it’s alright to throw wooden items in the recycle bin. This question is important for curbside recycling services. These services often…
We use cookies on our website to give you the most relevant experience by remembering your preferences and repeat visits. By clicking “Accept”, you consent to the use of ALL the cookies.
This website uses cookies to improve your experience while you navigate through the website. Out of these cookies, the cookies that are categorized as necessary are stored on your browser as they are essential for the working of basic functionalities of the website. We also use third-party cookies that help us analyze and understand how you use this website. These cookies will be stored in your browser only with your consent. You also have the option to opt-out of these cookies. But opting out of some of these cookies may have an effect on your browsing experience.
Necessary cookies are absolutely essential for the website to function properly. This category only includes cookies that ensures basic functionalities and security features of the website. These cookies do not store any personal information.
Any cookies that may not be particularly necessary for the website to function and is used specifically to collect user personal data via analytics, ads, other embedded contents are termed as non-necessary cookies. It is mandatory to procure user consent prior to running these cookies on your website.
We use cookies to ensure that we give you the best experience on our website. If you continue to use this site we will assume that you are happy with it.