The Art of Laptop Refurbishing: A Guide for Beginners
Welcome to our comprehensive guide on laptop refurbishing for beginners. If you have an old laptop gathering dust, this guide will teach you the essential steps and techniques to restore it to its former glory. Whether you’re looking to revamp the appearance or address software issues, we’ve got you covered.
Refurbishing a laptop can be a rewarding DIY project that allows you to breathe new life into your old device. With the right knowledge and tools, you can give your laptop a fresh start and enjoy the satisfaction of a job well done.
In this guide, we will walk you through the entire process, from gathering the necessary materials to disassembling the laptop, prepping for paint, painting, reassembling, and addressing software issues. Each step is explained in detail, making it easy for beginners to follow along and achieve professional-looking results.
Whether you’re a tech enthusiast or simply looking to save some money by refurbishing your own laptop, this guide is designed with you in mind. Discover the art of laptop refurbishing and embark on a journey to revive your old technology.
Step 1: What You’ll Need for Laptop Refurbishing
Before starting the refurbishing process, it’s important to gather the necessary materials and tools. These include sandpaper, painters tape, plastic bags, spray paint, sharpie, clean rag, glass cleaner, screwdrivers, electronics pliers/tweezers, assorted bowls, a painting surface, exacto knife, live USB, and an internet connection.
Having the right materials and tools is crucial for a successful laptop refurbishing project. Let’s take a closer look at each item and its role in the process:
- Sandpaper: Used for smoothing rough surfaces and removing scratches from the laptop’s exterior.
- Painters tape: Helps in covering areas that should not be painted, such as ports and connectors.
- Plastic bags: Used to protect delicate parts of the laptop during the painting process.
- Spray paint: The key component in giving the laptop a fresh and vibrant new color.
- Sharpie: Useful for marking specific areas or making fine details on the laptop.
- Clean rag: Used to wipe off dust, dirt, and fingerprints from the laptop’s surfaces.
- Glass cleaner: Ensures a clean and streak-free finish on the laptop’s screen.
- Screwdrivers: Essential for removing screws and disassembling the laptop.
- Electronics pliers/tweezers: Helps in handling small electronic components and connectors.
- Assorted bowls: Can be used to organize and hold small screws and other disassembled parts.
- Painting surface: A designated area where the laptop can be safely painted.
- Exacto knife: Allows for precise cutting and detailing, especially when working with tape or intricate designs.
- Live USB: Enables the reinstallation of the operating system after the refurbishing process.
- Internet connection: Required for downloading necessary drivers and software updates during the reinstallation process.
By gathering these materials and tools, you’ll be fully equipped to take on the exciting task of refurbishing your laptop. Remember, having the right tools at your disposal will help you achieve professional results and breathe new life into your device.
A well-prepared workspace and the right tools can make all the difference in your laptop refurbishing journey. Investing in quality materials and tools will pay off in the final results.
(H3: Laptop Refurbishing Materials and Tools Checklist)
| Materials | Tools |
|---|---|
| Sandpaper | Screwdrivers |
| Painters tape | Electronics pliers/tweezers |
| Plastic bags | Assorted bowls |
| Spray paint | Exacto knife |
| Sharpie | |
| Clean rag | |
| Glass cleaner |
Step 2: Taking Apart the Laptop
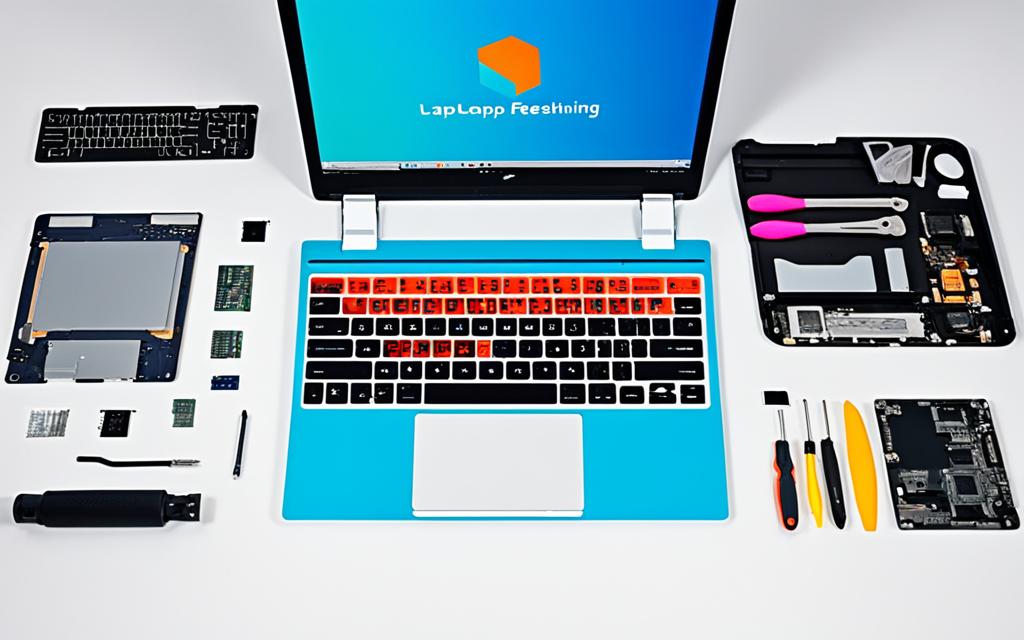
Before giving the laptop a fresh new paint job, it’s essential to disassemble it first. This step involves carefully removing the screws, keyboard sections, and separating the area around the keyboard from the rest of the computer. Take caution to protect the RAM and hard drive from any potential damage during the disassembly process.
Disassembling the laptop ensures that every part is easily accessible for cleaning and painting, resulting in a more professional and polished end result. It’s important to be detail-oriented and patient during this step to avoid any unnecessary mishaps or damages.
Here are some key points to keep in mind when disassembling your laptop:
- Work in a clean and well-lit area to minimize the chances of losing any small components.
- Use the appropriate screwdriver to remove the screws, ensuring that you keep track of where each screw came from.
- If you encounter any resistance while removing a component, double-check for any hidden screws or clips that may be holding it in place.
- Take pictures or make notes of the disassembly process to reference during reassembly.
Pro Tip: If you’re new to laptop disassembly, consider watching video tutorials or referring to manufacturer-specific disassembly guides for your particular laptop model.
By disassembling the laptop, you’ll have full control over each component, allowing for thorough cleaning, inspection, and preparation for the painting process. Once disassembled, you are ready to move on to the next step: prepping the laptop for paint.
Step 3: Prepping for Paint
Before painting the laptop, it’s crucial to properly prepare the surface for a flawless finish. This step involves a few key tasks, including:
- Sanding areas with scratches: Begin by lightly sanding any areas on the laptop surface that have scratches or imperfections. This helps to create a smooth and even surface for the paint to adhere to.
- Removing the laminate layer: If the laptop has a glossy or laminated finish, it’s important to remove this layer before painting. Use gentle sanding or an appropriate solvent to strip away the laminate, ensuring better paint adhesion.
- Protecting parts that shouldn’t be painted: To avoid getting paint on the keyboard, touchpad, or other components, cover them with painter’s tape and plastic bags. This will provide a clean boundary and protect these areas from accidental paint splatters.
- Preserving the keyboard and HP logo: If you wish to keep the original keyboard or HP logo intact, use painter’s tape and an exacto knife to carefully mask these areas. This will allow you to restore them after painting without any damage.
By diligently prepping the laptop surface, you’ll ensure a professional-looking paint job and protect the laptop’s functionality during the refurbishing process.
Avoiding Common Mistakes
One common mistake when prepping for paint is not sanding the surface properly. Make sure to spend enough time and attention on sanding areas with scratches, as this will ensure a smooth foundation for the paint.
Additionally, take care when removing the laminate layer. Using too much force or harsh chemicals can damage the underlying material, impacting the final paint job.
Lastly, double-check that all the parts you don’t wish to paint are properly covered with painter’s tape and plastic bags. This will prevent any accidental overspray and ensure a clean finish.
Step 4: Painting the Laptop
After prepping the laptop, it’s time to bring out the spray paint and unleash your creativity. The painting process is a crucial step that will give your laptop a fresh and vibrant look. Follow these tips for a successful laptop painting experience:
- Multiple Layers: To achieve a durable and visually appealing finish, apply multiple layers of spray paint. This will ensure even coverage and a long-lasting result.
- Long, Smooth Strokes: Use long, smooth strokes while applying the paint. This will help create a smooth and professional-looking surface. Avoid using short, choppy movements as it may result in an uneven finish.
- Layer Drying: Allow each layer of paint to dry completely before applying the next one. This will prevent smudging and ensure a smooth finish. Be patient and give the paint enough time to dry thoroughly.
Remember, removing the paint before it is fully dry can lead to an undesirable outcome. Take your time and let each layer dry completely before moving on to the next one.
“Painting is poetry that is seen rather than felt, and poetry is painting that is felt rather than seen.” – Leonardo da Vinci
Once you’ve completed the painting process, your laptop will have taken on a whole new personality. In the next step, we’ll guide you through the re-assembly process and discuss minor aesthetic changes you can make to further enhance the overall look of your refurbished laptop.
Step 5: Re-assembly and Minor Aesthetics
Once the painting process is complete, it’s time to bring the laptop back together. Re-assembly is a crucial step in laptop refurbishing, as it ensures that all components are properly connected and functioning. Follow these steps to re-assemble your laptop:
- Putting the screws back in place: Start by locating the screw holes and carefully screwing them back into position. Make sure to use the correct size and type of screws for each specific area.
- Reconnecting the cables: Gently reconnect all the cables that were detached during the disassembly process. Take extra care to align the connectors properly and secure them in place.
- Re-installing the RAM and hard drive: Slide the RAM sticks back into their slots and ensure they are fully inserted. For the hard drive, carefully slide it into the designated bay and secure it with the screws provided.
Once the laptop is re-assembled, you can also make minor aesthetic changes to personalize the device further. For example, you can replace the original HP logo on the back with a custom design or modify the Windows key with a different symbol. These small tweaks can enhance the overall aesthetics of your refurbished laptop.
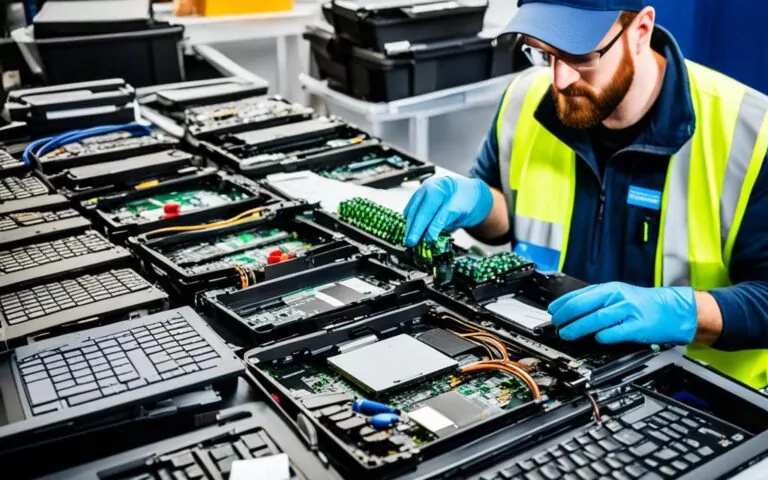
To give you a better idea of the re-assembly process, here is a visual representation:
Now that your laptop is fully re-assembled and customized, it’s time to move on to the next step: system restore and OS reinstallation. This will ensure that your refurbished laptop runs smoothly and has a fresh operating system.
Step 6: System Restore and OS Reinstallation
In case of software issues, performing a system restore or reinstalling the operating system may be necessary. This step helps resolve any glitches or errors in the laptop’s software. Following the proper procedures for system restore and OS reinstallation ensures a clean and fresh start for the refurbished laptop.
System Restore
If your laptop is experiencing software problems such as frequent crashes, slow performance, or unusual errors, a system restore can help resolve these issues. Here’s how to perform a system restore:
- Click on the Start menu and type “system restore” in the search bar.
- Select “Create a restore point” from the search results.
- In the System Properties window, click on the “System Protection” tab.
- Click on “System Restore” and follow the on-screen instructions to choose a restore point.
- Confirm your selection and wait for the system restore process to complete.
System restore allows you to revert your laptop’s software settings back to a previous point in time when it was functioning properly. It can help undo recent changes or fix software conflicts that may be causing issues.
OS Reinstallation
If the software issues persist even after performing a system restore, reinstalling the operating system (OS) may be necessary. Here’s how to reinstall the OS:
- Back up any important files or data before proceeding with the OS reinstallation.
- Insert the installation media (USB or CD) that contains the OS installation files.
- Restart the laptop and enter the BIOS or boot menu.
- Select the installation media as the boot device.
- Follow the on-screen instructions to format the hard drive and install the OS.
OS reinstallation provides a clean installation of the operating system, removing any software issues or corrupted files that may be causing problems. It is important to back up your files before reinstalling the OS to avoid data loss.
| System Restore | OS Reinstallation |
|---|---|
| Resolves software issues | Cleans and reinstalls the operating system |
| Reverts laptop’s software settings back to a previous point in time | Provides a clean installation of the operating system |
| Helps undo recent changes or fix software conflicts | Removes software issues or corrupted files |
Performing a system restore or reinstalling the OS ensures that your refurbished laptop starts with a fresh software environment, optimizing its performance and functionality.
Conclusion
Refurbishing a laptop is a rewarding DIY project that allows you to revive an old device and give it a new lease on life. By following the steps outlined in this guide, beginners can confidently take on the challenge of laptop refurbishing. From disassembly to painting, re-assembly, and addressing software issues, this guide covers all the essential aspects of laptop refurbishing.
Start your laptop revitalisation journey today and enjoy the satisfaction of breathing new life into old technology. With laptop refurbishing, you have the opportunity to save money by repairing your own device and customize it to your liking. Whether you’re a tech enthusiast or just looking to learn a new skill, the process of DIY laptop repair can be both educational and fulfilling.
Don’t let your old laptop gather dust in a drawer when you can learn how to refurbish it and extend its lifespan. Not only will you have a functional device, but you’ll also gain valuable knowledge about computer hardware, software, and troubleshooting. Take control of your technology and embark on your laptop refurbishing adventure today!
FAQ
What materials and tools do I need for laptop refurbishing?
To refurbish a laptop, you will need sandpaper, painters tape, plastic bags, spray paint, a sharpie, a clean rag, glass cleaner, screwdrivers, electronics pliers/tweezers, assorted bowls, a painting surface, an exacto knife, a live USB, and an internet connection.
How do I take apart the laptop?
To disassemble the laptop, you need to remove screws, keyboard sections, and separate the area around the keyboard from the rest of the computer. Make sure to carefully remove cables and protect the RAM and hard drive from damage during the process.
How do I prepare the laptop surface for painting?
Before painting, the laptop surface needs to be prepared. This involves sanding areas with scratches and removing the laminate layer. It’s important to cover parts that should not be painted with painters tape and plastic bags, using tape and an exacto knife to preserve the keyboard and logo.
What is the process for painting the laptop?
The painting process involves applying multiple layers of spray paint to achieve a durable and visually appealing finish. Use long, smooth strokes and allow each layer to dry before applying the next one. Removing the paint before it is fully dry can result in a less desirable outcome.
How do I re-assemble the laptop after painting?
Re-assembling the laptop involves putting the screws back in place, reconnecting the cables, and re-installing the RAM and hard drive. This is also the step where you can make minor aesthetic changes, such as changing the HP logo or modifying the Windows key.
What should I do if there are software issues with the laptop?
In case of software issues, performing a system restore or reinstalling the operating system may be necessary. This step helps resolve any glitches or errors in the laptop’s software. Following the proper procedures for system restore and OS reinstallation ensures a clean and fresh start for the refurbished laptop.
Why should I refurbish a laptop?
Refurbishing a laptop is a rewarding DIY project that allows you to revive an old device and give it a new lease on life. By following the steps outlined in this guide, beginners can confidently take on the challenge of laptop refurbishing. Start your laptop revitalization journey today and enjoy the satisfaction of breathing new life into old technology.


